Resin 3D printers rely on FEP (Fluorinated Ethylene Propylene) film as the transparent, non-stick layer between the UV light source and the liquid resin. Over time, the FEP film can become scratched, cloudy, or punctured, which leads to print failures and poor quality results.
Fortunately, replacing it is a straightforward process if you follow the right steps.
This guide walks you through how to replace FEP film on your resin printer, with tips to ensure a smooth installation and long-lasting performance.
When Should You Replace FEP Film?
Before diving into the process, it’s important to recognize the signs that your FEP film needs replacing:
- Scratches or cloudiness that reduce UV light transmission.
- Deep dents or punctures that can cause resin leaks.
- Frequent print failures due to poor release of cured layers.
- Wrinkling or loosening of the film.
If you notice any of these, it’s time for a replacement.
Tools and Materials You’ll Need
To replace your FEP film, gather the following:
- Replacement FEP film (size compatible with your printer).
- Hex/Allen wrench (usually included with your printer).
- Screwdriver (depending on printer model).
- Scissors or a utility knife.
- Isopropyl alcohol (IPA) and lint-free cloth (for cleaning).
- Paper towels or gloves (to keep things clean).
Step-by-Step Guide to Replacing FEP Film
Step 1: Remove the Resin Vat
- Power off the printer and unplug it.
- Remove the resin vat (tank) and pour any leftover resin back into the bottle using a fine filter.
- Clean the vat thoroughly with IPA and a lint-free cloth.
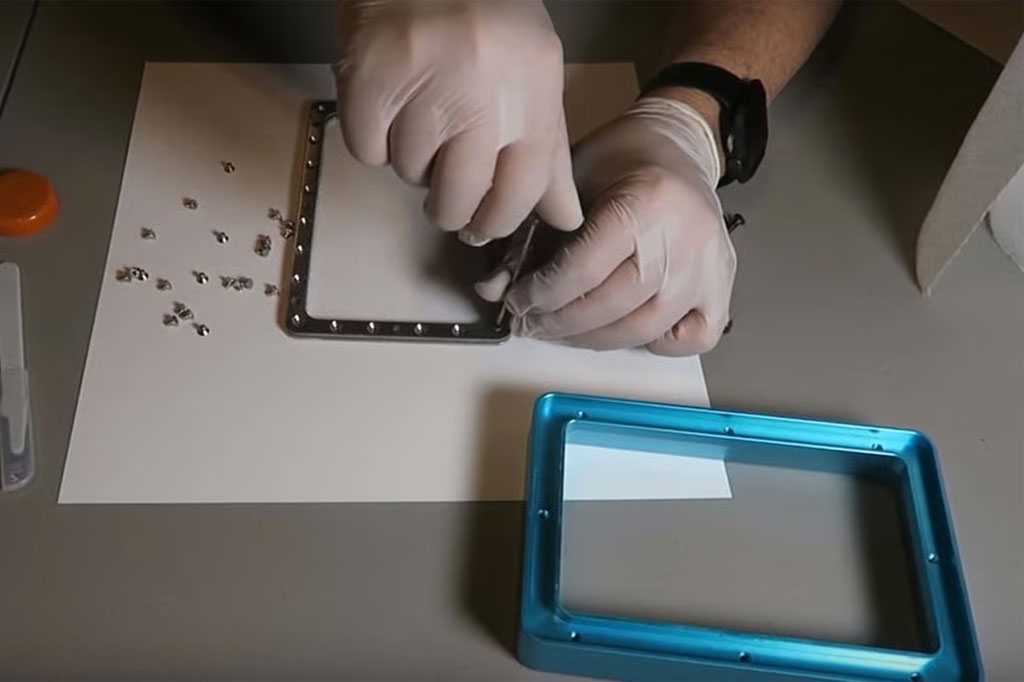
Step 2: Disassemble the Vat Frame
- Most resin vats consist of two metal frames clamped together with screws.
- Use the hex wrench or screwdriver to carefully unscrew all fasteners.
- Separate the two frames and remove the old FEP film.
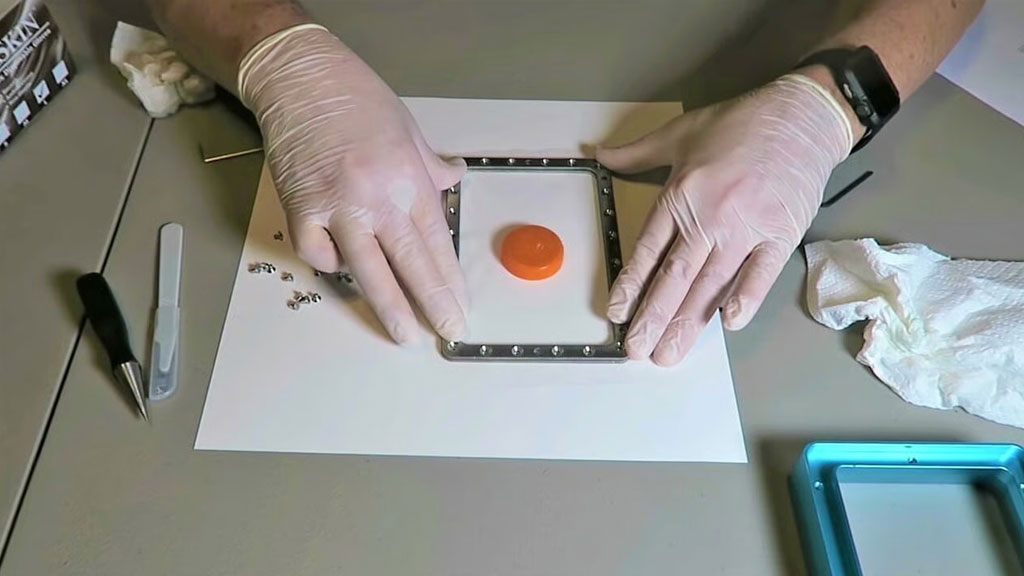
Step 3: Prepare the New FEP Film
- Cut a piece of replacement FEP film slightly larger than the vat frame.
- Place the film between the two metal frames, ensuring it is flat and free of dust or fingerprints.
Tip: Handle the film by the edges to avoid smudges.
Step 4: Install and Tighten the Film
- Align the holes of the FEP sheet with the screw holes in the frame.
- Start inserting screws in a crisscross (diagonal) pattern to distribute tension evenly.
- Tighten gradually – do not overtighten yet.
- Once all screws are in, go around the frame again and firmly secure each screw.
Step 5: Trim Excess Film
- Use scissors or a utility knife to carefully trim away the extra FEP film sticking out of the frame.
- Make sure no sharp edges or fragments remain.
Step 6: Reassemble and Test
- Reinstall the vat onto your resin printer.
- Check that the film is tight and wrinkle-free. When tapped, it should produce a drum-like sound.
- Run a quick test print with a small object to ensure the new FEP is functioning properly.